Wednesday, 11 July 2012

Kindle cover, Mark 1

 Well, we gave in and bought a kindle. We were buying one for the elder daughter- a sort of 'well done for getting your degree' sort of thing- and we are avid readers, so had thought it made sense to have a kindle, as half the weight of luggage on holiday is books, and so- my other half just did it!
And you look at it, all pristine and new, and do not want it to get damaged. So, a cover is in order.
And, having bought one for the daughter, she will also need a cover. So it was agreed, I will make a cover for her, and she will make a cover for me. But, our kindles are different. She has the posh one with a keyboard, we have the basic version.

And, if I am making one for her, I need to get some practise in first, don't I?
 And she is also going to need a practise?
So she has crocheted a basic cover, and sewn a posher one for her kindle, you may see these here. And I have just made one for our kindle. Which is to be shared, by me and OH. So, not too girly, I hope...

I had a good look around the web, and nothing there quite did what I wanted, so there is nothing for it but to start from scratch. I did not want elastic holding it in place, and I did want a zip pocket for its lead. A zip fastener could scratch the kindle screen, so the zip needs to be covered, so a flap is wanted.
If I am not using elastic, I will need a slip in pocket, but I want to leave the kindle in the case while I use it.So a 'mask' has to be made leaving appropriate holes to use the keys, at side and bottom of kindle.


Some scribbled notes, and a kindle drawn on cardboard, and a bit of thinking, and then stash inspection, and some fabric choices, and we are off!
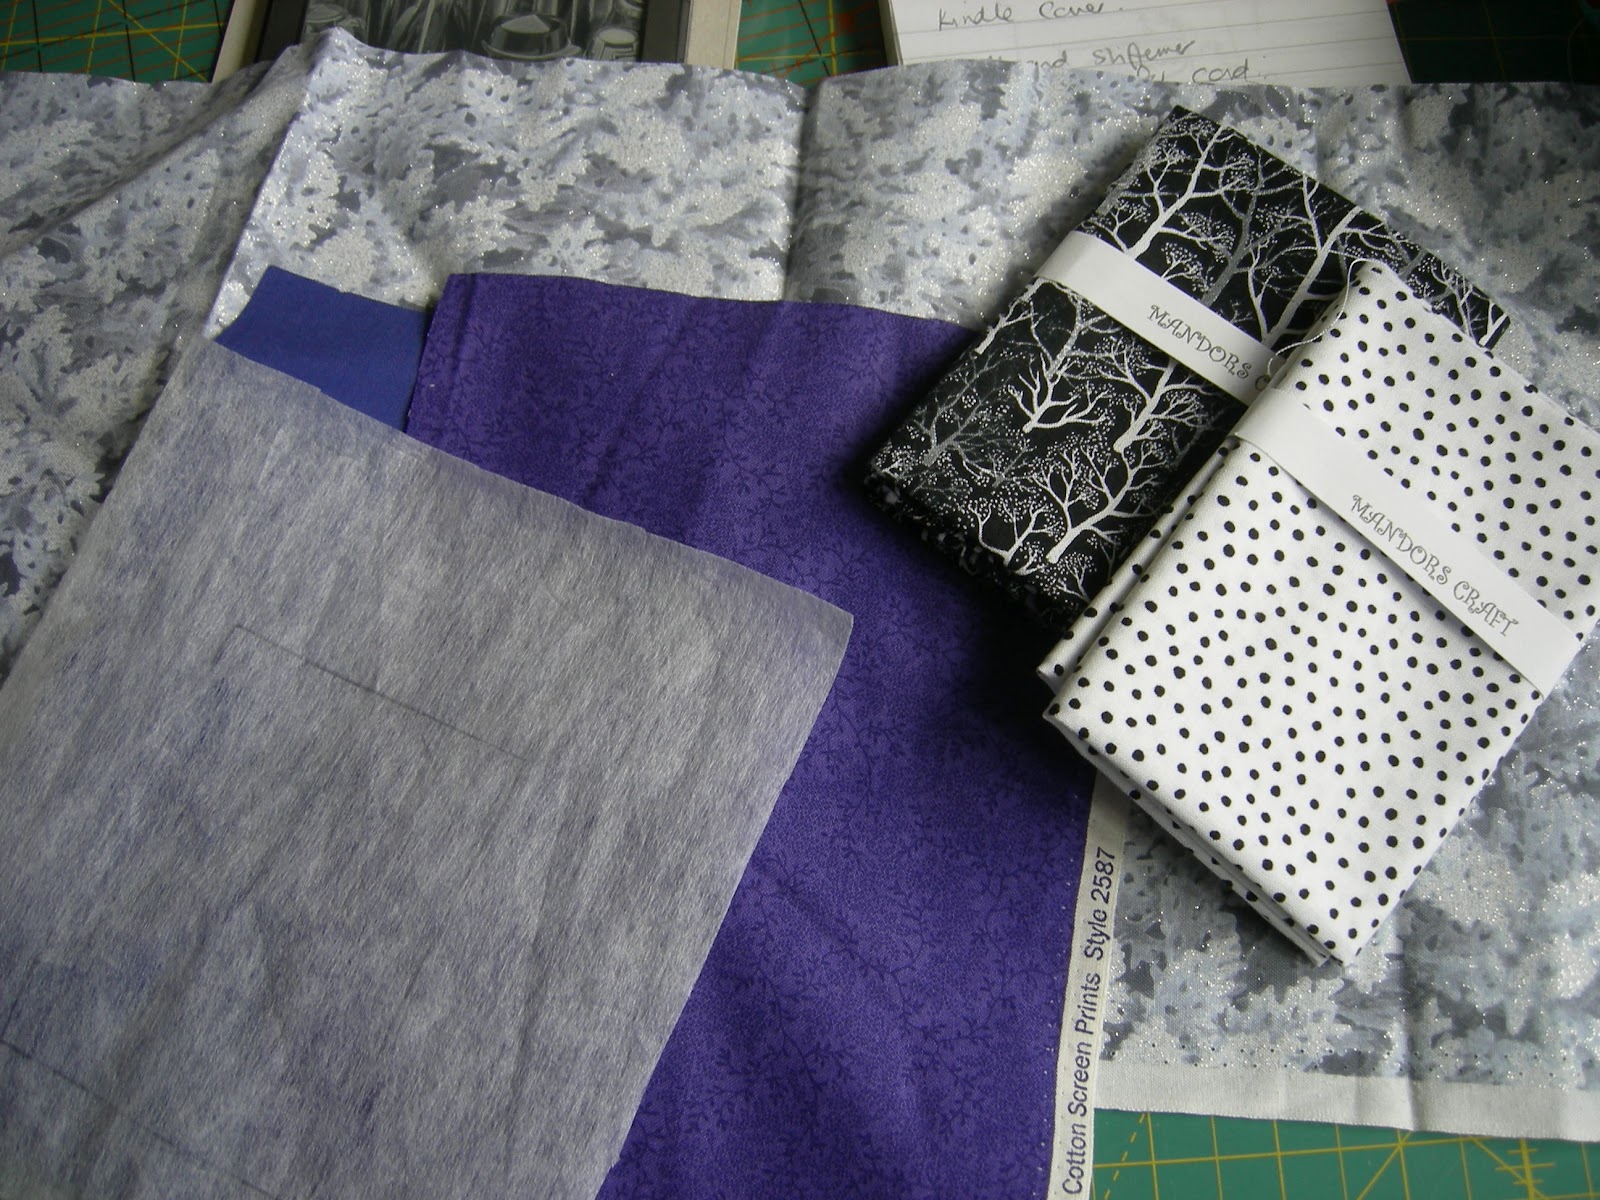


Pocket fabrics and zip, great tutorial from Sewmamasew, for internal zip pockets, which I have used several times- don't really need it now, but it is reassuring to have open,


A couple of hours later, I have a kindle cosy, hopefully not too feminine, with concealed zip pocket for the cable,
 The neat binding is tuted by 52 quilts in 52 weeks. I loved it, and it wasn't difficult!


and a button closure- because I forgot to organise my magnetic fastener at the right time!


If anyone asks for a tutorial, I will put one together, but I suspect you are all as capable of inventing this as I am!


Tuesday, 10 July 2012

A new Block

I am involved with the 'Around the World' quilt bee, and have now managed to get myself organised and made a block for another member. I had a lot of trouble deciding what to make, and ended up, as one might, looking at Quilter's Cache  where there are myriads of blocks. I found a block which I did not use, but sort of varied it, to make my own new block. I am sure it is not a uniqur creation, because it is so simple, but I promise, I did reinvent the wheel here. It is All My Own Work.
Now these colours are not what I would normally put together, but I felt they worked with the other two blocks that have been made.
 My block which, due to Leila's tuition on the skill builder, I was confident to execute!
So, I will be interested to hear what the recipient feels! She will not receive this for many months, as I have to pack it up and post it to the next one on the loop! If she hates the photo, I will have to try a different one for her, but, I am hopeful!


Now, I have a to do list. So, I would like to join with Rhonda and try to do a Finish-a-long
here is my To Do list. I am not sure how much of this will be do-able, or count... but heres to trying


1.    Bookbag- Alex
2.    Cover for notebook-kitty
3.    Kindle cover, Kitty
4.    Kindle cover, me
5. quilt to put together from Skill builder blocks. 
6. use those lovely charm packs I have! 
7. the pretty Japanese fabrics need making into a pretty quilt!
8. do tutorial for Augusts Stash block!aaah important!
 

Is this enough to be going on with? If I had been quicker off the mark I could have put my frame purse on the list, but it is already ready, unless it's recipient declares she doesn't like it! In which case it will be back to the drawing board!

Monday, 9 July 2012

Prize!


 Look what came through my door today!  The lovely Laura of Quokka quilts had a giveaway, not long ago, and I was the lucky winner. I have a wonderful charm pack of 'Lately arrived from London'. These would not suit certain folk, as they are very much in the brown spectrum, but I promise you, they are yummy! They cross the hues range from very pale and creamy, through several darkening shades, to a rich brown and into the reds. Some of them are duplicated, others are not, and I am going to have the hardest time convincing myself to split open the pack and get them into a project.
I was like that with Easter eggs as a child. I hoarded them, as long as the pretty foil was unspoiled they were just for looking at, and could be gloated over! this pack is definitely for gloating!


So, thank you so much Laura, I am very glad to have these!  and all the way fromAustralia! you are very kind.

I am still saying 'wheeee' to myself with such a stupid smile on my face... you wouldn't believe!


Now, a bloggy friend of mine has a miniature blog, which she is trying very hard to grow a bit. So she is doing a mega giveaway! The prizes on offer are

cushion/pillow cover, xmas stocking, machine companion, sewing companion, fancy pins , ribbon , fat eighths ,

So go over to see her instantly- the bigger the following she can get, the more prizes she is including! mad as a whatever!

So go visit Rachel-( no not me, you can come back and see me again later)- and sign up and give her a little lift! The comment form is down on July 7th, you will probably need to scroll down to it, but at present there are only 6 comments, so I am in with a chance!

Edited to add, I am linking with sewhappy geek today, for manic Monday!

I am also thinking, I will try to do a Finish-a -long with Quilter in the gap. I have some left over projects- some not started, let alone finished! Will it help get them going?

Maybe tomorrow!

Sunday, 8 July 2012

Fun sewing

 This is a really fun little travel sewing kit to make, I have seen it around the place, and followed a link to here, and with my usual inability to actually follow instructions, made this this afternoon/evening. I am really pleased with how it has turned out. It is a gift for someone a little bit special, and I really hope she likes it!

I can't tell you for whom, in case she reads my blog. No, it isn't you!
I will not put any bits inside, as scissors must be paid for! and I expect she will have lots of fun stuff to enclose, anyway.
I used three co-ordinating (in my opinion ) fabrics for the outer, and quilted straightish lines down it at irregular intervals. Did anyone ever tell you how difficult it is to space lines irregularly? They wanted to come out balanced! If I had been trying to make them regular they would have mismatched, I am sure!
On the inside are three pockets, one on the inside front, quite deep, and two facing inward, as it were, on the back flap. Needle book, scissor holder, and a spool holder add to the detail. Though I am not convinced a spool will go on that holder!

It was an excellent tutorial, even if I did find myself scrolling up and down through it all the time! My fault for wanting to do things in a different order!

Selvage sewing- thoughts

Ok, let us put this bit of information first- though I suspect you already know about this one, so can I say it very quietly, as, if you don't know, perhaps the rest of us are in with a better chance?
Lily's Quilts is doing a fantastic giveaway! Oakshott cottons. definitely a drool-worthy addition to anyone's stash, in colourbox form, 32 FQs!

No, I do not want you to go there! and comment, 'cos I would love to get these, but, as there are already gazillions of commenters, I suspect your couple of entries won't affect my chances too much!

Am I allowed to borrow a picture from her? I don't know, so I better not- go have a look! They are glorious!

Right, now I am going to share my thoughts and frustrations on string quilting and including selvages!
The Stash bee for July is asking for a really pretty block. But a string block is involved. Not difficult, so now add selvages. Again not difficult per se, and a very helpful tutorial is included. Recommended is to cut your 'strings' between 3/4" and 1 1/2". the selvages need to allow about 1/4" beyond the fabric 'edge' of the selvage, so you sew both sides of the selvage down. Now, selvages are not all exactly the same width, and a margin of 'real' fabric needs to be left, to sew the next strip onto, if nothing else! And that does not allow for seeing the fabric referred to, by the selvage


 So, you cut it a little larger, for the fabric to show itself off.
 Now, here, I have sewn selvage onto a 1" plus strip of fabric, and only a teensy strip of the other is on show.


 And this picture, if you look carefullyshows a selvage sewn on- before I realised I needed to allow a better margin of fabric on the selvage- and the next pice overlaid, and stitched. I think you can seethat only the selvage will show, and, if anything, the margin of seam allowance is a bit skinny!


So, The selvage is going to be about 1/2", or a little over, so to give a good border of fabric, you need to cut your selvage strip about 1". So the piece you stitch this onto, has to have at least 1 1/4" showing after you have sewn it onto the previous strip. And that will mean it has to start at least 1 1/2" before hand. And that will only leave 1/4" of the original showing. So, to work with selvages, some of the non-selvage strips really need to be bigger than 1 1/2", and 2" will give a better view of the fabric underneath. I am learning slowly!

 By making it wider, I give myself a bit more maneuvrability,


So this piece already looks like it will work better.


So, sorry Jennie, it was quite a learning curve!


On the plus side, now I have finished it, I am rather pleased with the end result.


 All the string pieces pieced! and starched into perdition!


And a result!
I do hope Jennie likes it. 


Friday, 6 July 2012

another frame purse

 As you will know, I am making a frame purse for a mystery partner, in Nicky's famous amazing frame purse swap. There are a number of great tutorials out there for how to make one of these, even telling us how long to cure the glue, so that we get a good 'stickem' .
So, the next thing is to work out what shape we want the bag bit of the thing, and try to design this. And to look at what our secret partner wants, or might like, and try to make something for them to fall in love with.
 Now, I rather liked my first attempt, except, the shape was grotty, and loads of folk had touchy feely issues, and the fabric was peachy, so it seemed that that was fine for me, but maybe, not such a good thing as a gift. And a few folk were less than keen on the flower- well it was a first attempt at such a thing. The embroidery thing went down well though. So, a bit of thought, and this combination came into being. Two shades of lightweight linen, a gentle amount of embroidery in several different threads, and I ran out of steam!
 So a day or so later, I was looking through my stash- what the Dickens could I put in as a lining? I had an olivey green floral print which was quite nice, but, perhaps, a bit boring?
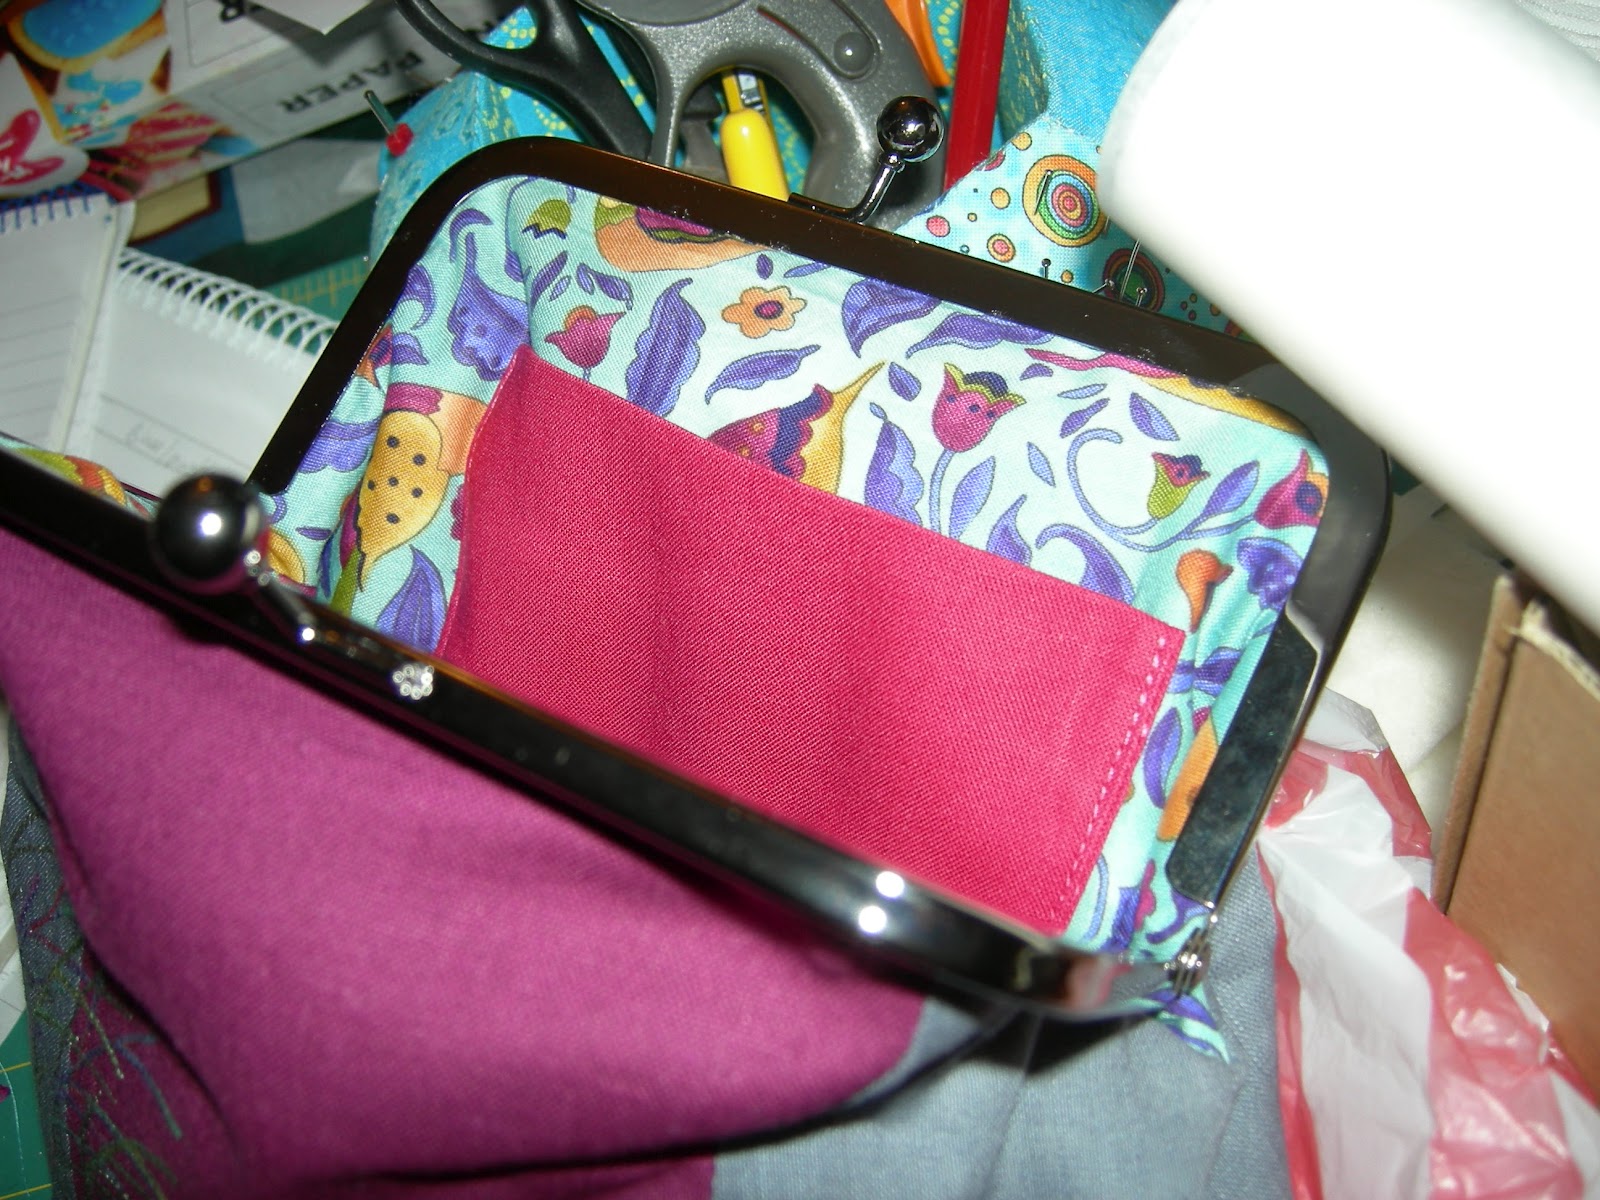
And then I pulled out this bright zingy fabric, which I am ridiculously in love with, and I was set on just what I was doing! Will my partner like or hate it though? I just have to trust she will love it as much as I do. And a pocket, in a very sober Kona pomegranate!


 So, you see, this is actually very me- or so I like to think- Sober on the outside, but secretly quite fun underneath, where you may not notice?

It has fusible fleece lining it, and has been pressed into the back of  next week, and is ready for the glue.

Bottoms up ( not a bad seam match underneath?) and gluing commenced.
 The skewer is a very important aid to the stuffing of pouch into frame. One side done, t'other side done, and


Tadaaa!
 I do hope the shape is okay- if not I am not sure what else to do!


I hope she likes her pocket too.  Shown here with the dross of sewing around it!


 But what to put inside? Now, thinking cap on!


Narcissus delayed!
jasmine
And a little from the garden, yes, the drive is now spotless, and all my little ladies mantle are washed away! the ones in the border are fine, but my volunteers are gone!


Jessica

blueberry ice

Random peony bought, nameless, at anursey

Your common find in the best kept lawn!


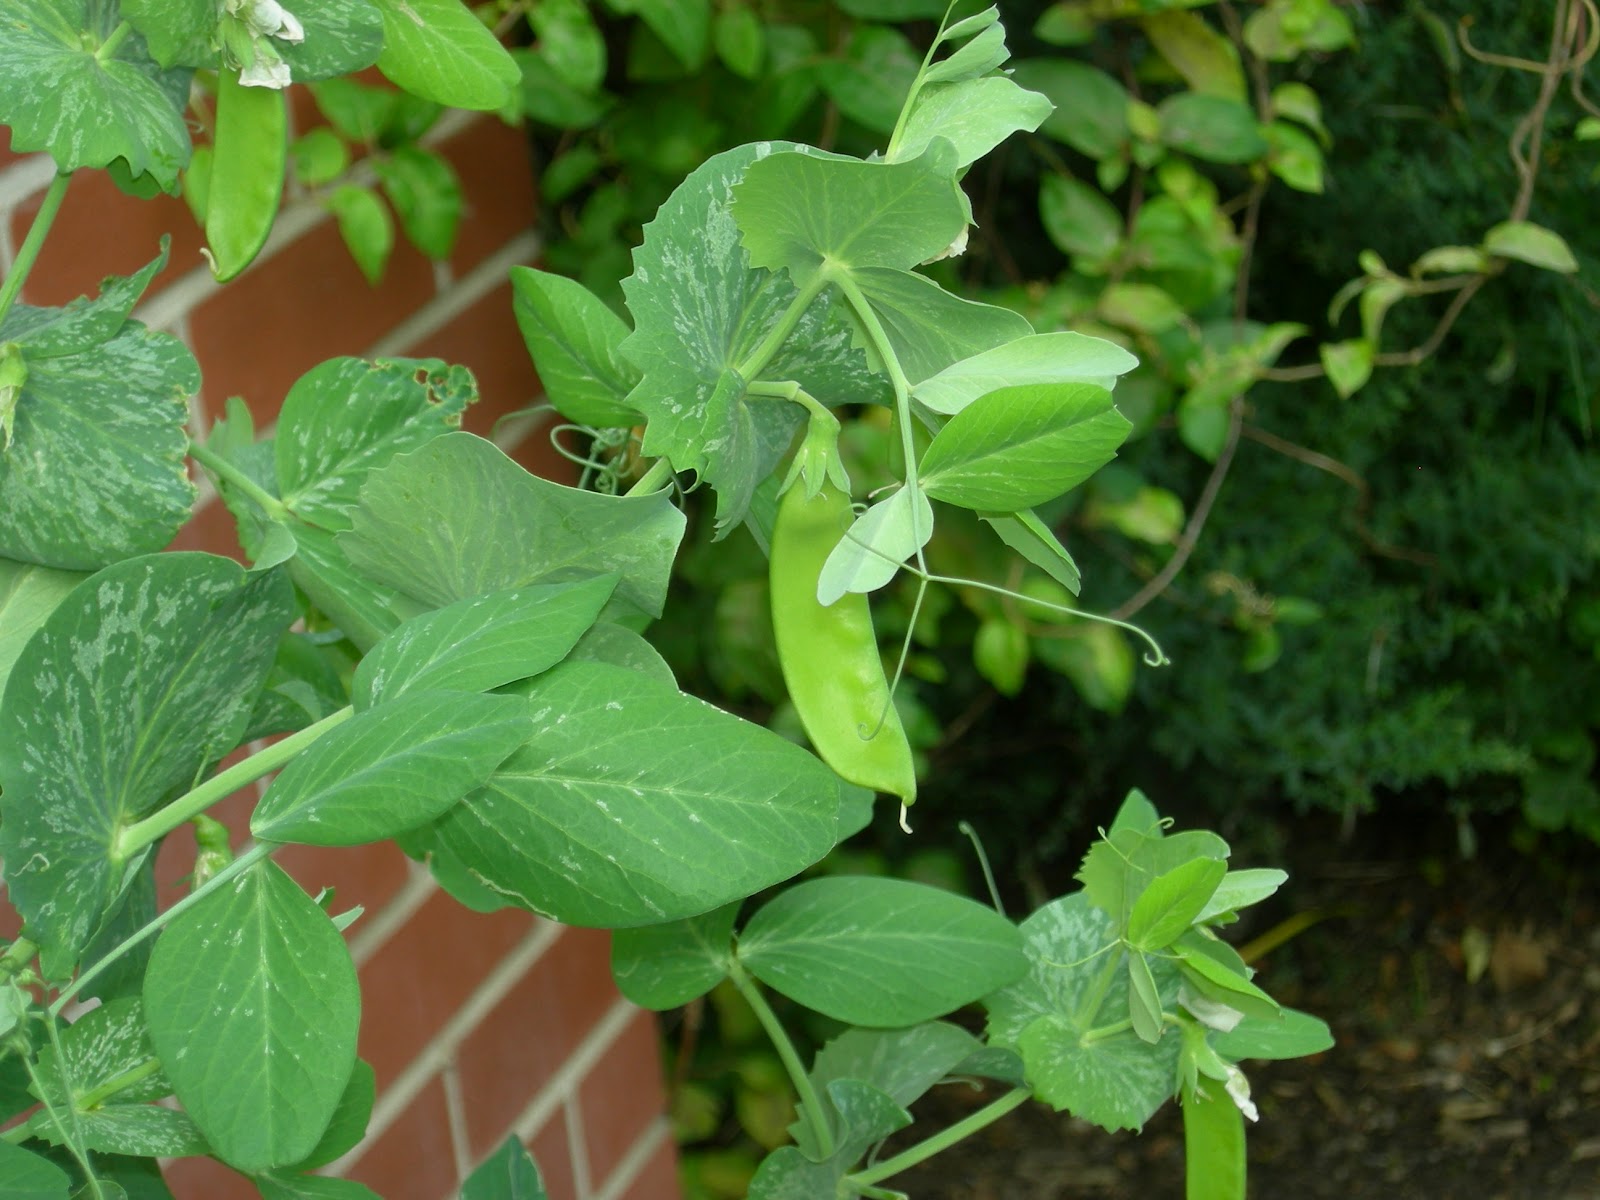
and we are eating Mange-tout peas from the patio!


Wednesday, 4 July 2012

new blocks

 The skill builder series of blocks is over. Finished. Stopped. I am both sad to see them gone, and relieved to have the series over. This butterfly is the last of the series, and included curves, and Y seams, so not the easiest block of them all, but a very pretty result.
 And the world doesn't stand still for long, and I am involved in this slightly mad 'Around the world' bee, and I have made my first block to go with someone elses!On this occasion, the someone else happens to be my daughter, so I have made a 'violets' block, to go with her theme. She wants local native flowers, local to the makers area that is, on a neutrally background. Black, grey, cream or white, which allows a certain licence as to how one does it. She isn't concerned with how the instructions are interpreted, as long as she gets a flower!
I hope she likes my block, she will see it when she gets home from work! She also requested, the name of the flower on the block, and a signature block to go with it! I haven't done that bit yet.


I spent the weekend away, with a very dear friend, helping her at a fundraiser craft stall, in aid of her son's school. First she said she had very little stuff to sell, and when we got there she had two tables to fill. We quickly realised that three tables at least were required, and borrowed another table, but still didn't manage to put everything out. Most of the stuff was made either by her son, or by his schoolmates. All of them have some degree of learning disability, and some of them have significant motor problems too. I was very impressed by the generosity of the buyers, and we raised more than I would have expected!

I came home again on Sunday evening, just in time to eat with my daughter, and organise myself to be able to go to work on Monday! A lovely weekend of sewing, chatting and selling the goods. Nothing beats time spent with good friends and family!

Now I have to go and redevelop some frame purse ideas! Don't hold your breath!


Related Posts Plugin for WordPress, Blogger...

Popular Posts