If you have seen the pictures, it is quite a bag. It looks capacious, and sensible, and, if made from suitable materials, should be robust.
If you are me, you have all sorts of fabric stashed away, leftovers from projects that Noah's wife took with her on the ark, as well as more recent bits and pieces, some bought, just because, and others bought with specific aims, now lost in the mists of time....So, what have I got that will make a substantial and robust bag?
Dark red cord! Yummy dark red cord! What was the original use? I have not a clue, but I have a good bit of leftover!


I am in the group, Lazy Bums. This is a laugh really, and is designed to encourage the making of stuff that lurks in the shadows, not being made... May's challenge for this group, for me, was THAT BAG.
So, I finally did the necessary, bought those findings, and started the journey.
 Most of it was straightforward, though the instructions were set out in a way that was not natural for me. I have made bags before, as well as dressmaking and quilting, and I am pretty good at wangling, but some of my wangling was in frustration... just getting that tubing through the fabric tube took two and a half hours, and in the end, my DH did it! I didn't want to make the hole it threaded through any larger, as then it would 'bag' but boy was it a toughie!
and I found the finishing instructions for that handle were not as good or as clear as they might have been- Fine if you used bought handles, but the made ones? not as easy...
Then there was the magnetic fastener tab, There is a helpful picture in the book... but no helpful instruction, to say, in this case, the 'short side' is longer than the 'long side' of your piece...

I folded, I looked, I folded differently, I went back to the instructions, and refolded... In the end, I followed the instructions, and had another look.

I made a new and different tab.
This piece did come in useful later, it was 'repurposed' . And this bit is where Lisa really came up trumps! or her assistant, perhaps..
emails flew.. and I got extra measurements from the U handbag crew, to ensure I didn't get another mishap like that one! Three cheers for Lisa Lam! and Skye.

Probably a bit smarter than it did with the other tab, I am happy now.


so now I need to put the lining together..


Slip pocket, check!


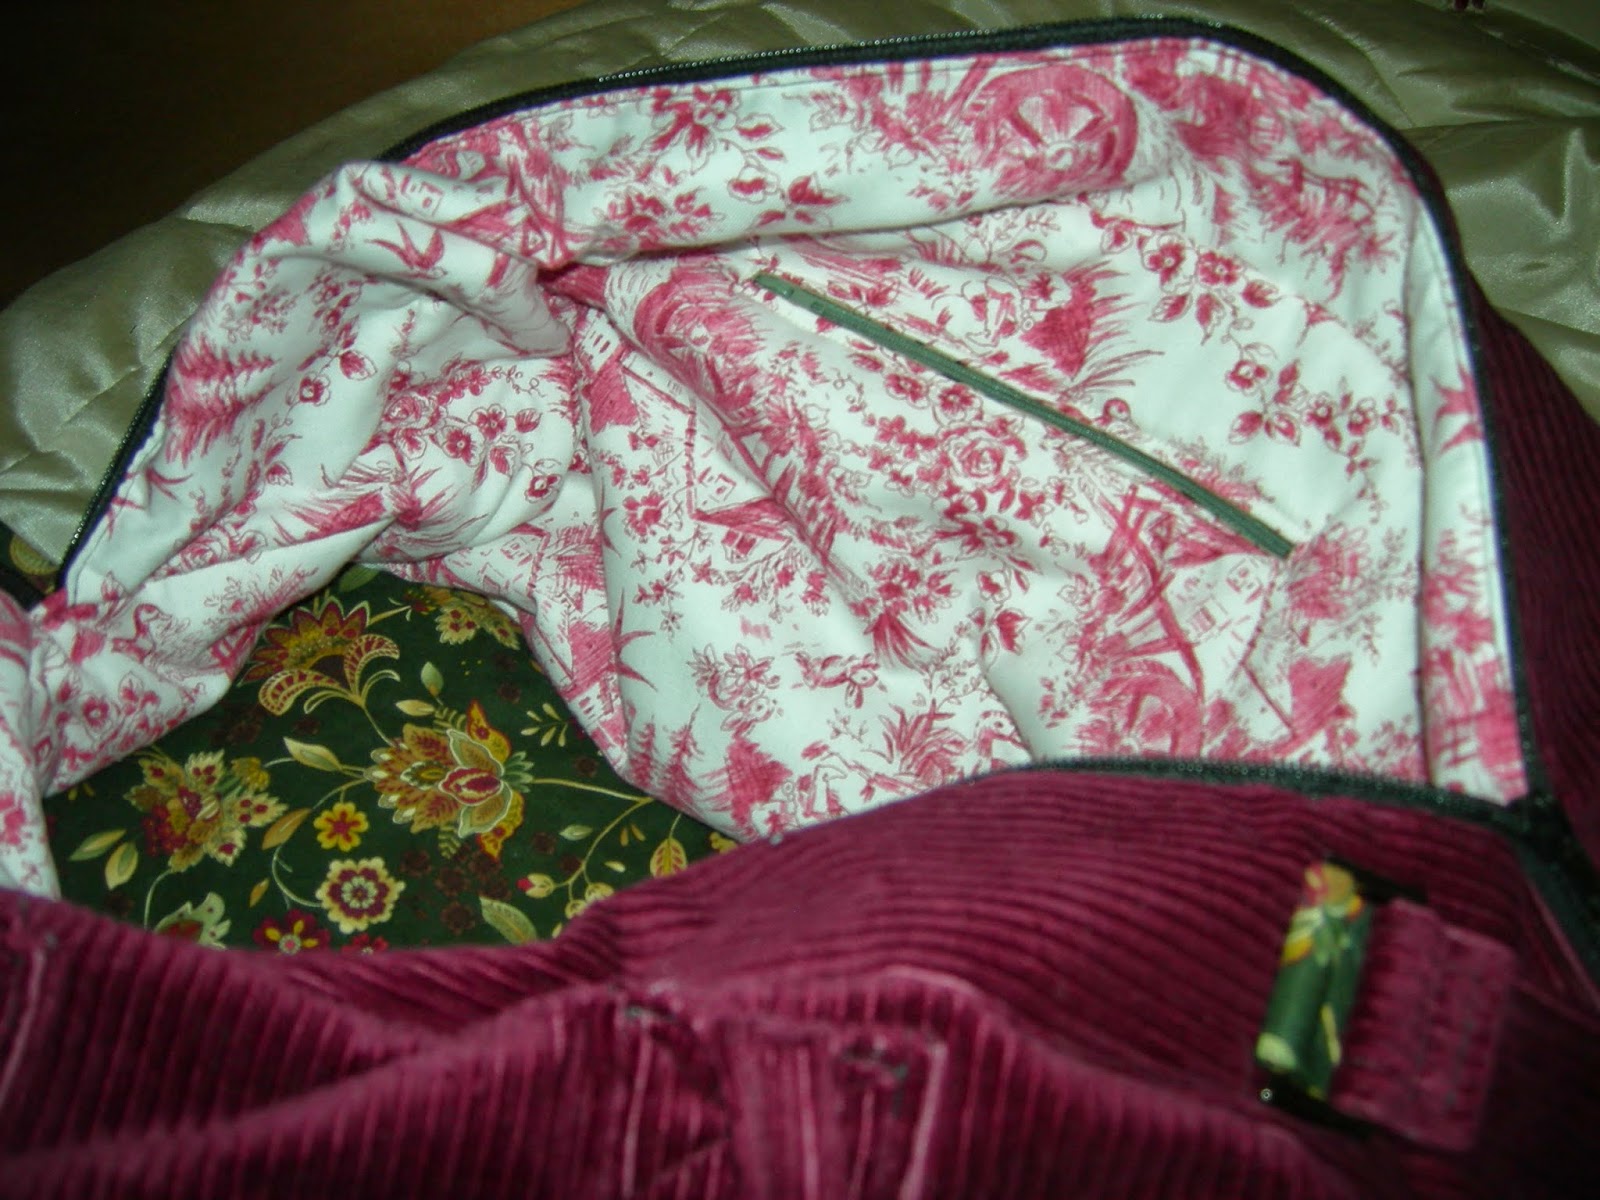
but now it is in, it looks like a bag!


and it has feet!

and that handy tab for when you pull the zip..
I am very happy with my weekender bag! Thanks Lisa.
and I only had to buy the hardware for it... all fabrics I already had, and was ready to use in a good cause
What wrinkles would I try to remember for next time? .... next time??? well, I may have to make some for my girls one Christmas, you never know...
ok,
wrinkle 1, remember the short side is the long side some of the time!
wrinkle 2, the zip length needs looking at very hard when you are sewing the thing. It is fine to have a too long zip, but the instructions are unclear as to how this is dealt with.
wrinkle 3, sewing the bag bottom on, treat each side as a separate unit, do not try to turn those corners.
and there are three bag bottom pieces to cut. it is not too clear as to which bit of lining is the lining, and which bit makes the envelope to put your bought bag bottom in! Is that English? No? well I hope you understand anyway.. Putting in bag bottom is also a little trial of patience..
wrinkle 4, remember that lining fabric and outer fabric may have different stretch.. this becomes important in finishing the zip, and matching lining to zip..
Ta-daaa!


12 comments:
have loved seeing the pictures as you went along .. OK I wondered ??? what is she doing !! lol x I wonder sometimes who "proof reads" some of these patterns .. the instructions must make sense to ... someone xx well done x
That's a fantastic looking bag. What interfacing did you use, and did you have any problems sourcing it or using it?
Your bag looks great despite a few head scratching moments along the way. I LOVE the lining you used.
fab bag, love the colour of the cordouroy you used
Your bag looks brilliant! Welldoneforsussing out the trickier parts of the pattern. I wonder how someone less experienced than you would manage from the book though!
Oh my! What a lovely looking bag. I'm contemplating making a bag for weekends away. I've got the pattern for the aeroplane bag, so I might give it a go
Oh my! What a lovely looking bag. I'm contemplating making a bag for weekends away. I've got the pattern for the aeroplane bag, so I might give it a go
You have way more patience than me! It looks amazing, I love the fabrics
You have way more patience than me! It looks amazing, I love the fabrics
Congrats! That bag is amazing and I enjoyed seeing all the steps :)
Love the bag. Love how the whale/wale lines up on the sides.
Barb@Witsend
It is a great bag and I am sure you will enjoy using it!
Post a Comment