Faith, from Fresh Lemons, ( you will find instructions and templates there!) has kindly permitted me to use her block, but I have a couple of 'wrinkles' that I would like to suggest.
Please, I want you to make all four bits of the block,but not to sew them together! There are so many variations on a theme with this block, I want to play with them, and decide which ones I want which way round!
So you are still making one 12.5" unfinished block, but you really are not finishing it, but sending me the quarters! Is that ok? I do hope so.
and please, can you make strip 5 the same fabric in each!
Here are some inspiration pictures, Sorry, I couldn't get the attributions to copy and make sense, these are all borrowed from the flickr group, We can do it! Skill builder sampler, except number 6, which is Faiths very beautiful block.
 |
A couple of other things to be aware of, If I print the template at 100%, and measure the 1" line, it is a tad too small, so I need to print it at 105%, to get the size right. But I will use the slightly small one for colour working, and also cut it up, and use it to make sure my fabric pieces are the right size to go on!
So, having got that out of the way, here goes!
First, I have been looking at my stash colours,
 |
| yellows |
 |
| purples |
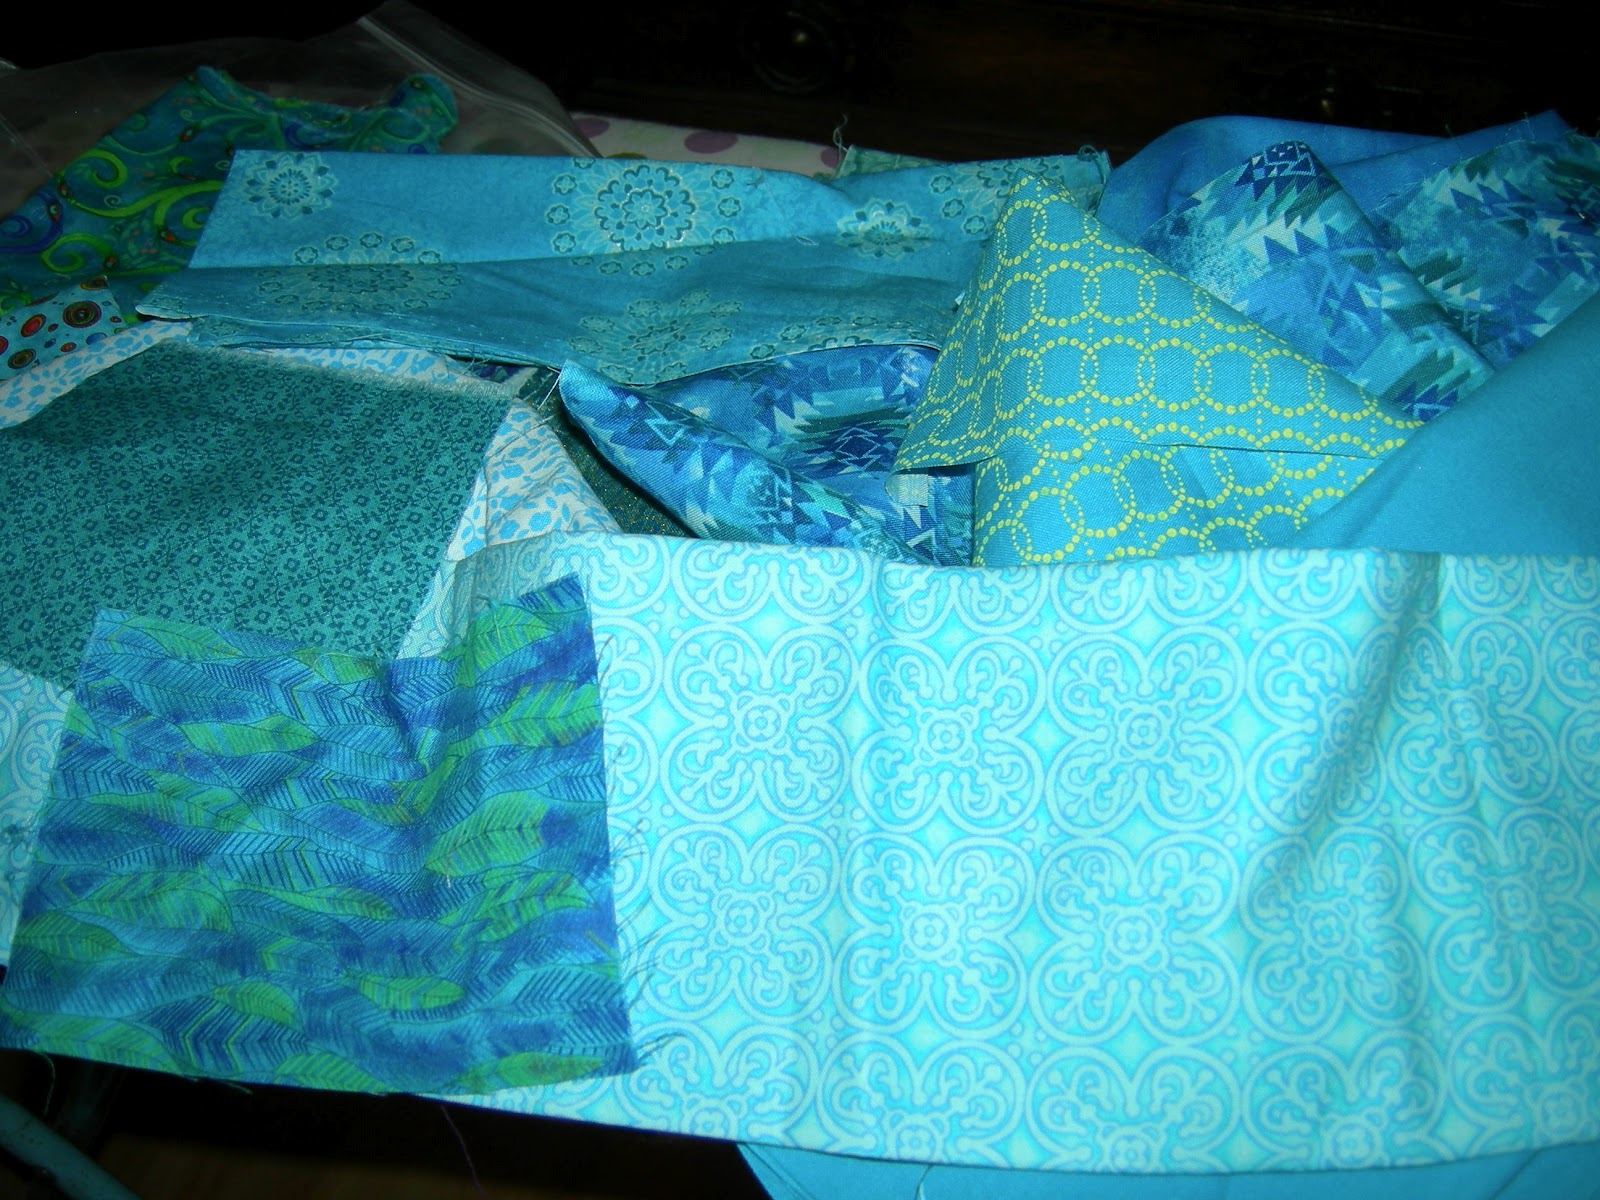 |
| turquoisey blues |
Enjoy playing with your colours!
So, I have printed all my templates, and I now write on them, which fabrics I want where, so that the combinations work when I finish. These may be the same on all four templates, or you can alternate some of them, or even use different ones in each, just, please, make your number 5 the same in all four!
I have a few tips for doing foundation paper piecing, which are probably well known to all of you, but may help someone do a little less unpicking!


laid on its paper


And pin the first piece on the back


that I have a seam allowance worth at least around each side, by folding back each in turn

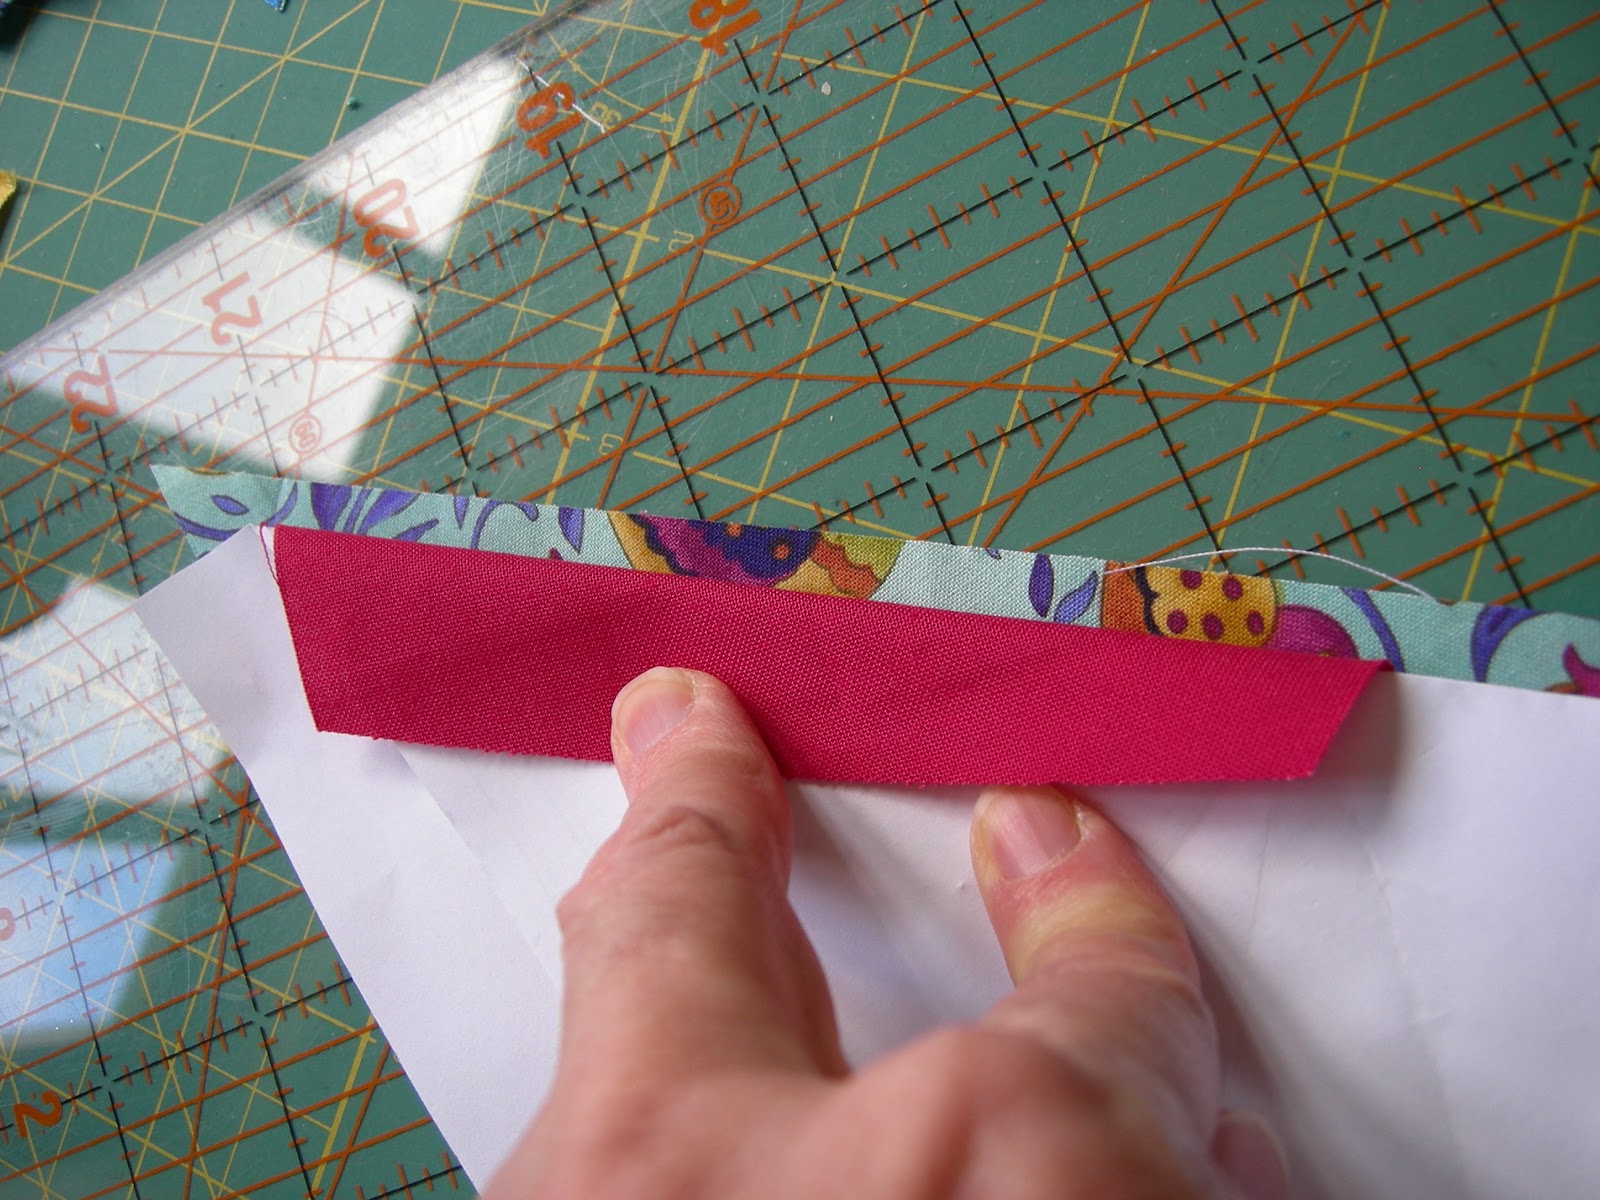

so, here I haven't quite enoughand need to move the fabric, repin, and recheck.

All better now!

Now is the time to unpick if I must!
then, trim the seam allowance to 1/4" as per usual.


And add thenext, as you would expect.


 And then, I starch it hard, and press it like crazy, and trim to the square
Repeat for the other three.

and you can see which one I got wrong! I can either make that a 'feature' or make another one.


Many thanks to my lovely hive, for doing these blocks!


3 comments:
These blocks will make a great quilt - look forward to seeing how you decide to position the quarters!
Cool block!
Excited to try this one! And we can use any colors we choose? So long as number five is consistent?
Post a Comment